
Your Expander
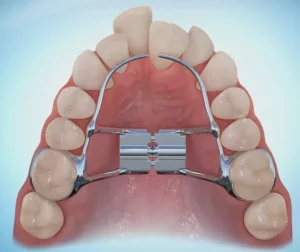
The expander is an important part of treatment if it is needed. We use the expander to correct crossbites, to alleviate crowding, and to allow teeth to grow in a more favorable position. The expander stays in for at least 10 months. Active expansion is completed within the first three months. Once expansion is completed, the expander will stay on for the remainder of treatment to retain the expansion.
Separators
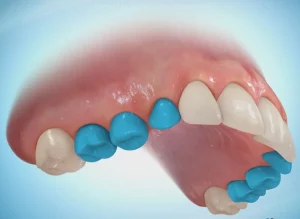
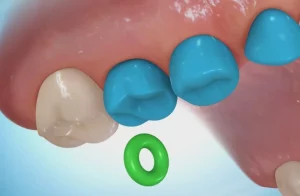
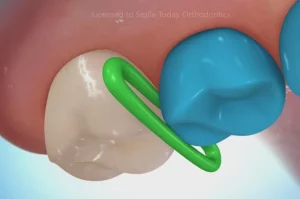

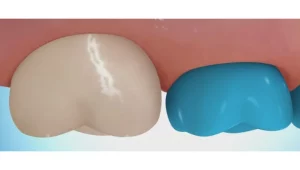
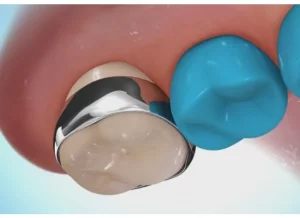
Separators are small blue elastics placed at least one week before we place the expander. They are placed to create slight spaces between the molars to ensure that the bands of the expander fit. There may be some soreness on the molars where the separators are placed.
Please avoid flossing and eating anything sticky to avoid dislodging the separators. If they come out before the expander delivery appointment, please give us a call to replace the separators.
Please avoid flossing and eating anything sticky to avoid dislodging the separators. If they come out before the expander delivery appointment, please give us a call to replace the separators.
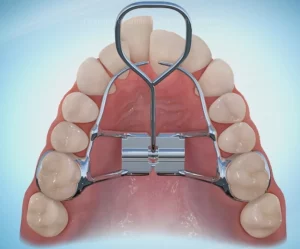
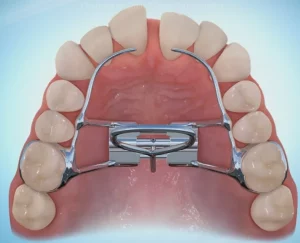
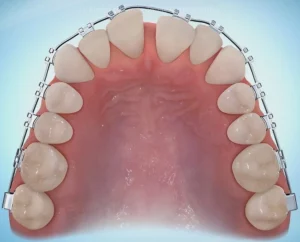
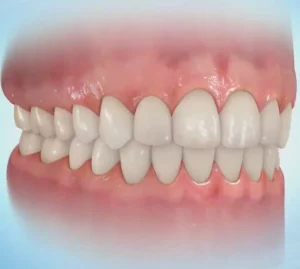
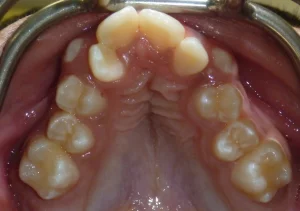
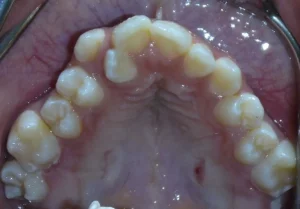
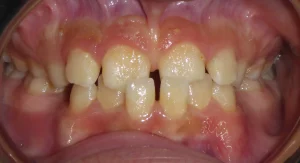
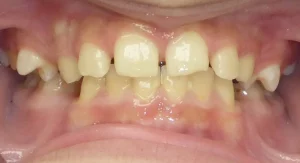
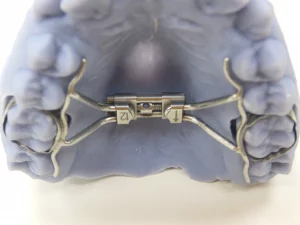
Case Examples
Expander Delivery Post-Op Instructions
There should be no pain when we insert the expander, however the patient may experience the following:
• Difficulty swallowing
• Difficulty speaking
• Teeth soreness
For many patients, it takes around one to two days to get used to the expander. We recommend starting turns only when the patient has adapted to the expander, which is usually one to two days after insertion. Please turn as directed by the doctor. We typically will see you every 10-14 days to see if more expansion is necessary. Once we have reached our desired amount of expansion, we will see you every two to three months until the expander is ready to be removed.
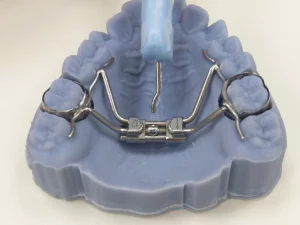
To ensure that you are turning the expander properly, see the photos below and read the instructions accordingly:
1) Begin doing the turns the day after the expander delivery appointment. Delay this if patient has pain or is unable to eat food normally. You can do the turn in the morning or in the evening, most patients prefer evenings before going to sleep.
2) Once ready, have patient lay down on their back, with their neck stable on the arm rest of couch. Have them point their chin up to the ceiling for a better view of the expander. You will need good lighting above their mouth, a phone flashlight can be helpful.
3) First look at the roof of patient’s mouth, and find the center of the expander, where the turning cylinder will have a keyhole. That keyhole will move back as you complete a turn, and a new keyhole will emerge at the front.
4) Once the keyhole is found, insert the skinny metal tip of the expander key into the keyhole. To ensure that they key has been inserted all of the way, you should no longer be able to see the tip of the key.
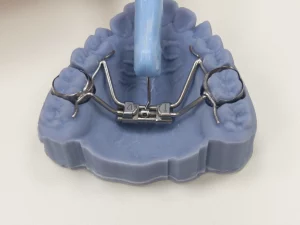
5) With the key all of the way in, you will push the key towards the back of the mouth to complete the turn. The metal tip will pivot on the key tool in one direction. When the key can no longer move any further, wiggle it left to right to remove it from the expander. If you yank the key out, it may undo some of the turn.
6) After completing the turn, you should see the next hole appear. If the next hole is not visible, then only half of the turn was completed. To correct this, you must put the key in the finished position, place the key in the hole towards the back of the mouth, then push back in a straight line motion.
7) Please keep track of how many turns you have completed since your last visit. If you have missed any turns, please keep note. Write down how many turns you have completed on your phone or on a piece of paper. This allows us to determine how much more expansion is needed.
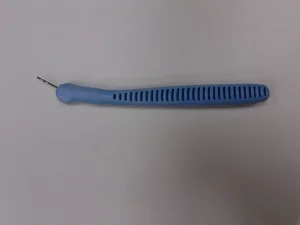
Key Start
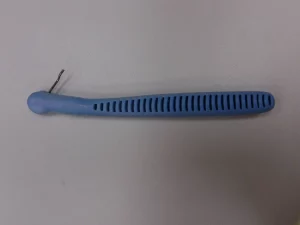
Key End
Keyhole
Insert Key
Key Inserted
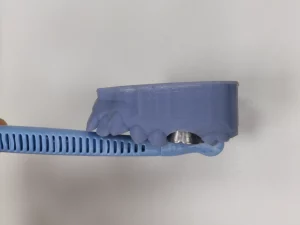
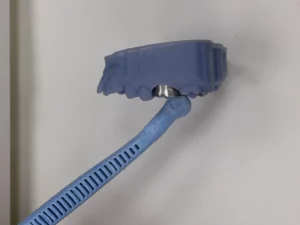
Side View Starting
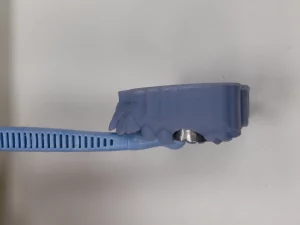
Side View Finished
Incorrect Form
Frequently Asked Questions (FAQ)
Does an expander hurt?
No, your expander should not hurt, although it may be slightly uncomfortable when you initially have the expander placed.
How long does the expander stay in for?
Your expander typically stays in your mouth for about 10-12 months. Active expansion takes place during the first 3 months. Once expansion is complete, the expander will stay on to retain the palatal expansion created.
How old do you have to be to get an expander?
The typical age for an expander is 10-13 years old, but younger and even older patients may need one, varying with each case.
Can I get an expander if I am older than 13?
Not usually, but patients as old as 19 may need an expander as well. Expanders are typically for younger patients because they are still growing and their ligaments are more mobile than an older individual.
How do I know if my child needs an expander?
There can be multiple reasons why you may need an expander. It may be because of crowding, a posterior crossbite, or impacted canines. If you are still unsure, contact us to schedule a consultation!
I am experiencing pain with my expander, what should I do?
Schedule an appointment with us ASAP! You may have an issue with your expander that is causing you pain.
How often do I turn my expander?
You will typically turn your expander once or twice per day for two weeks, but this may vary according to your doctor’s instructions. If you forget how many turns you should be doing, do not hesitate to call us for a reminder.
Does placing the expander hurt?
No! It is a simple procedure of sliding the expander on the teeth and cementing it in place.
How long will I have a lisp for?
You will have a lisp for the first week with the appliance on. When you are at home or alone, read something out loud, whether it be an article or a book. This will help your tongue adapt to the expander and will quickly get rid of your lisp.